


The Art of Layering: Building Depth in Your Watercolor Paintings
Unlock the Secret to Rich, Dimensional Watercolors Through the Power of Transparent Layers

Introduction: Why Layering is the Soul of Watercolor
Have you ever looked at a watercolor painting and wondered how the artist achieved such a luminous glow, sense of atmosphere, or incredible depth? The answer often lies in one powerful technique: layering.
Unlike opaque mediums like oils or acrylics, watercolor painting relies on the transparency of pigment and the white of the paper to create brilliance. Layering—also known as glazing—is the act of applying multiple transparent washes over one another to build up depth, form, contrast, and texture.
But layering is more than just painting one color over another—it’s a deliberate, patient, and magical process that can elevate your work from flat to fantastic.
Let’s explore how you can master the art of layering and bring new life to your watercolor paintings.
1. What is Layering in Watercolor?
Layering (or glazing) involves painting one transparent wash over another that has completely dried. Each layer interacts with the previous one optically, not physically, so the colors glow through rather than mix like they do when wet.
It’s like building a painting one sheer veil at a time, allowing light to bounce off the paper and pass through the layers—creating rich, luminous effects.
2. Why Layering is So Powerful in Watercolor
✔ Adds Depth – Layering creates a sense of three-dimensionality.
✔ Builds Form – Helps model light and shadow.
✔ Enhances Contrast – Each layer can deepen values without muddying the color.
✔ Enriches Color – Subtle glazes create vibrancy and variation.
✔ Corrects & Refines – Layers can soften or adjust earlier areas without starting over.
💡 Unlike other mediums, watercolor layering maintains freshness while enhancing complexity.
3. Materials Matter: Choose the Right Supplies
✅ Paper: Use 100% cotton, 300 gsm watercolor paper—it withstands multiple washes without buckling or breaking.
✅ Paints: Transparent or semi-transparent pigments work best for layering. Opaque paints can block light and dull the glow.
✅ Brushes: Use soft, round or flat brushes that hold water well but don’t disturb underlying layers.
💡 Good quality materials make layering easier and more effective.
4. The Golden Rule: Let It Dry Completely!
This is the most important rule in layering: Each layer must be completely dry before you apply the next.
If the paper is even slightly damp:
🚫 You risk disturbing the previous layer.
🚫 Colors will blend unintentionally.
🚫 You’ll lose definition and clarity.
✔ Use a hair dryer or simply allow ample drying time.

5. How to Layer Step-by-Step
🎨 Step 1: Start with Lightest Colors
Begin with the lightest tones and largest shapes—skies, backgrounds, light areas of skin or fabric.
🎨 Step 2: Apply the First Wash
Paint a transparent, even wash using diluted pigment. Let it dry thoroughly.
🎨 Step 3: Add the Second Layer
Use a slightly darker or complementary color to build form or value. This could be shadows on a building, folds in fabric, or the background of a flower.
🎨 Step 4: Continue Adding Layers
Each new layer should be more refined and used for shaping, contrast, or details. Remember, fewer well-planned layers are better than overworked ones.
💡 Test your layering on a scrap before applying it to your painting.
6. Tips for Successful Watercolor Layering
✔ Use Transparent Pigments like Phthalo Blue, Quinacridone Rose, or Burnt Sienna.
✔ Paint Thin to Thick – start with watery washes and gradually increase pigment concentration.
✔ Work from Light to Dark – once you go dark, it’s hard to reverse!
✔ Glaze Similar Colors for subtle shifts, or complementary ones for contrast.
✔ Use Soft Brushes to avoid reactivating previous layers.
✔ Test Each Layer—not every pigment behaves the same. Some lift, some stain.
7. When and Where to Use Layering
✔ Landscapes – to build trees, mountains, skies, and water with depth.
✔ Portraits – for skin tones, shadows, and expressions.
✔ Florals – layering petals enhances translucency and dimension.
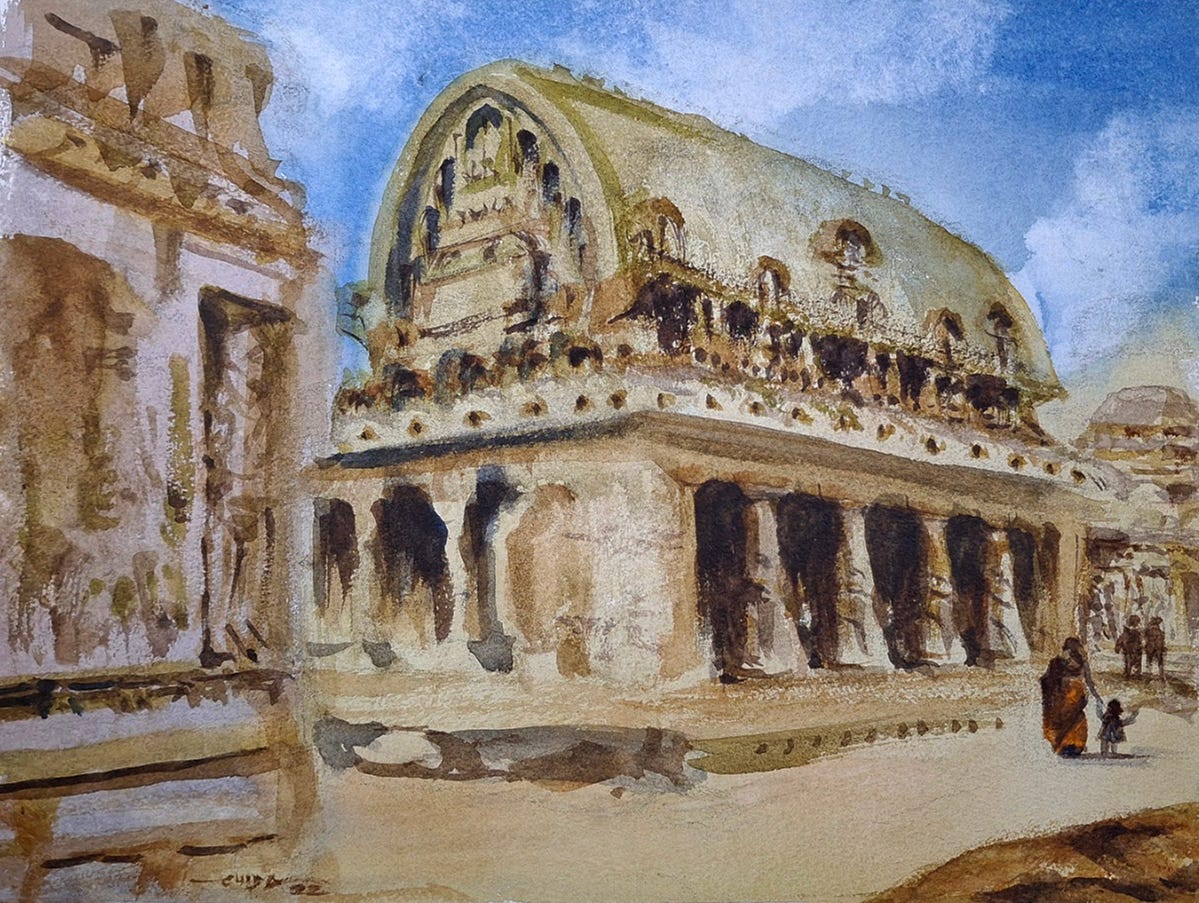
✔ Architectural Studies – to create texture and atmospheric perspective.
💡 Layering isn’t just for realism—it works beautifully in loose, expressive styles too!
8. Common Mistakes to Avoid
🚫 Impatience – Rushing leads to muddy results.
🚫 Too Many Layers – Over-layering can dull your painting.
🚫 Wrong Paper – Thin or low-quality paper can tear or buckle.
🚫 Using Opaque Pigments – These can ruin the transparent glow.
🚫 Unplanned Glazing – Random layers create confusion. Plan purposefully!
Final Thoughts: Layering is Your Gateway to Mastery
Layering is a foundational technique in watercolor painting that helps you go beyond beginner washes into a world of depth, glow, and refined expression.
It takes patience, planning, and practice—but the results are well worth the effort.
🎨 Key Takeaways:
✔ Layering builds depth, vibrancy, and form in watercolor.
✔ Use transparent colors, soft brushes, and quality paper.
✔ Always let each layer dry completely before adding the next.
✔ Practice glazing purposefully—each layer should have a reason.
✔ Less is more. Plan each stage, and trust the process.
🎨 Call to Action: Join My Watercolor Mastery Community!
Want to learn layering and other powerful watercolor techniques with step-by-step guidance?
Join my Watercolor Mastery Community, where I teach:
✅ How to use layering and glazing effectively
✅ How to build realistic forms and glowing color
✅ How to plan your painting from light to dark
📩 Subscribe to my blog today for exclusive tutorials, creative exercises, live classes, and inspiration.
✨ Let’s create watercolors with depth, dimension, and heart—together! 🎨🚀