

✨ Using Masking Fluid and Tape for Sharp Highlights in Watercolour
Preserve the Sparkle. Paint with Precision. Reveal the Magic.

Dear Watercolour Explorer,
Have you ever painted a brilliant scene — glowing sunlight, shimmering reflections, or crisp white edges — only to realize you lost the light along the way?
It’s a common challenge: watercolour doesn’t forgive like oils or acrylics. Once you cover the white of the paper, it’s gone.
But here’s the secret tool of the masters:
🎯 Masking fluid and tape.
These humble helpers allow you to preserve the brightest highlights, create crisp edges, and work with confidence — knowing your whites will remain untouched until the final reveal.
In this guide, I’ll show you how to use masking tools step by step, with examples, tips, and gentle guidance to master this powerful technique.
💡 Why Use Masking Fluid and Tape?
In watercolour painting:
White = light
And light is what gives your painting life and contrast
But since we don’t add white on top like in other mediums, we must protect it from the start.
✨ Benefits of Masking:
Preserve sparkles on water
Keep highlights on flowers, clouds, windows, and edges
Allow freedom to paint loose washes without worrying about details
Add crisp architectural or geometric lines in urban sketching
🖋️ What Is Masking Fluid?
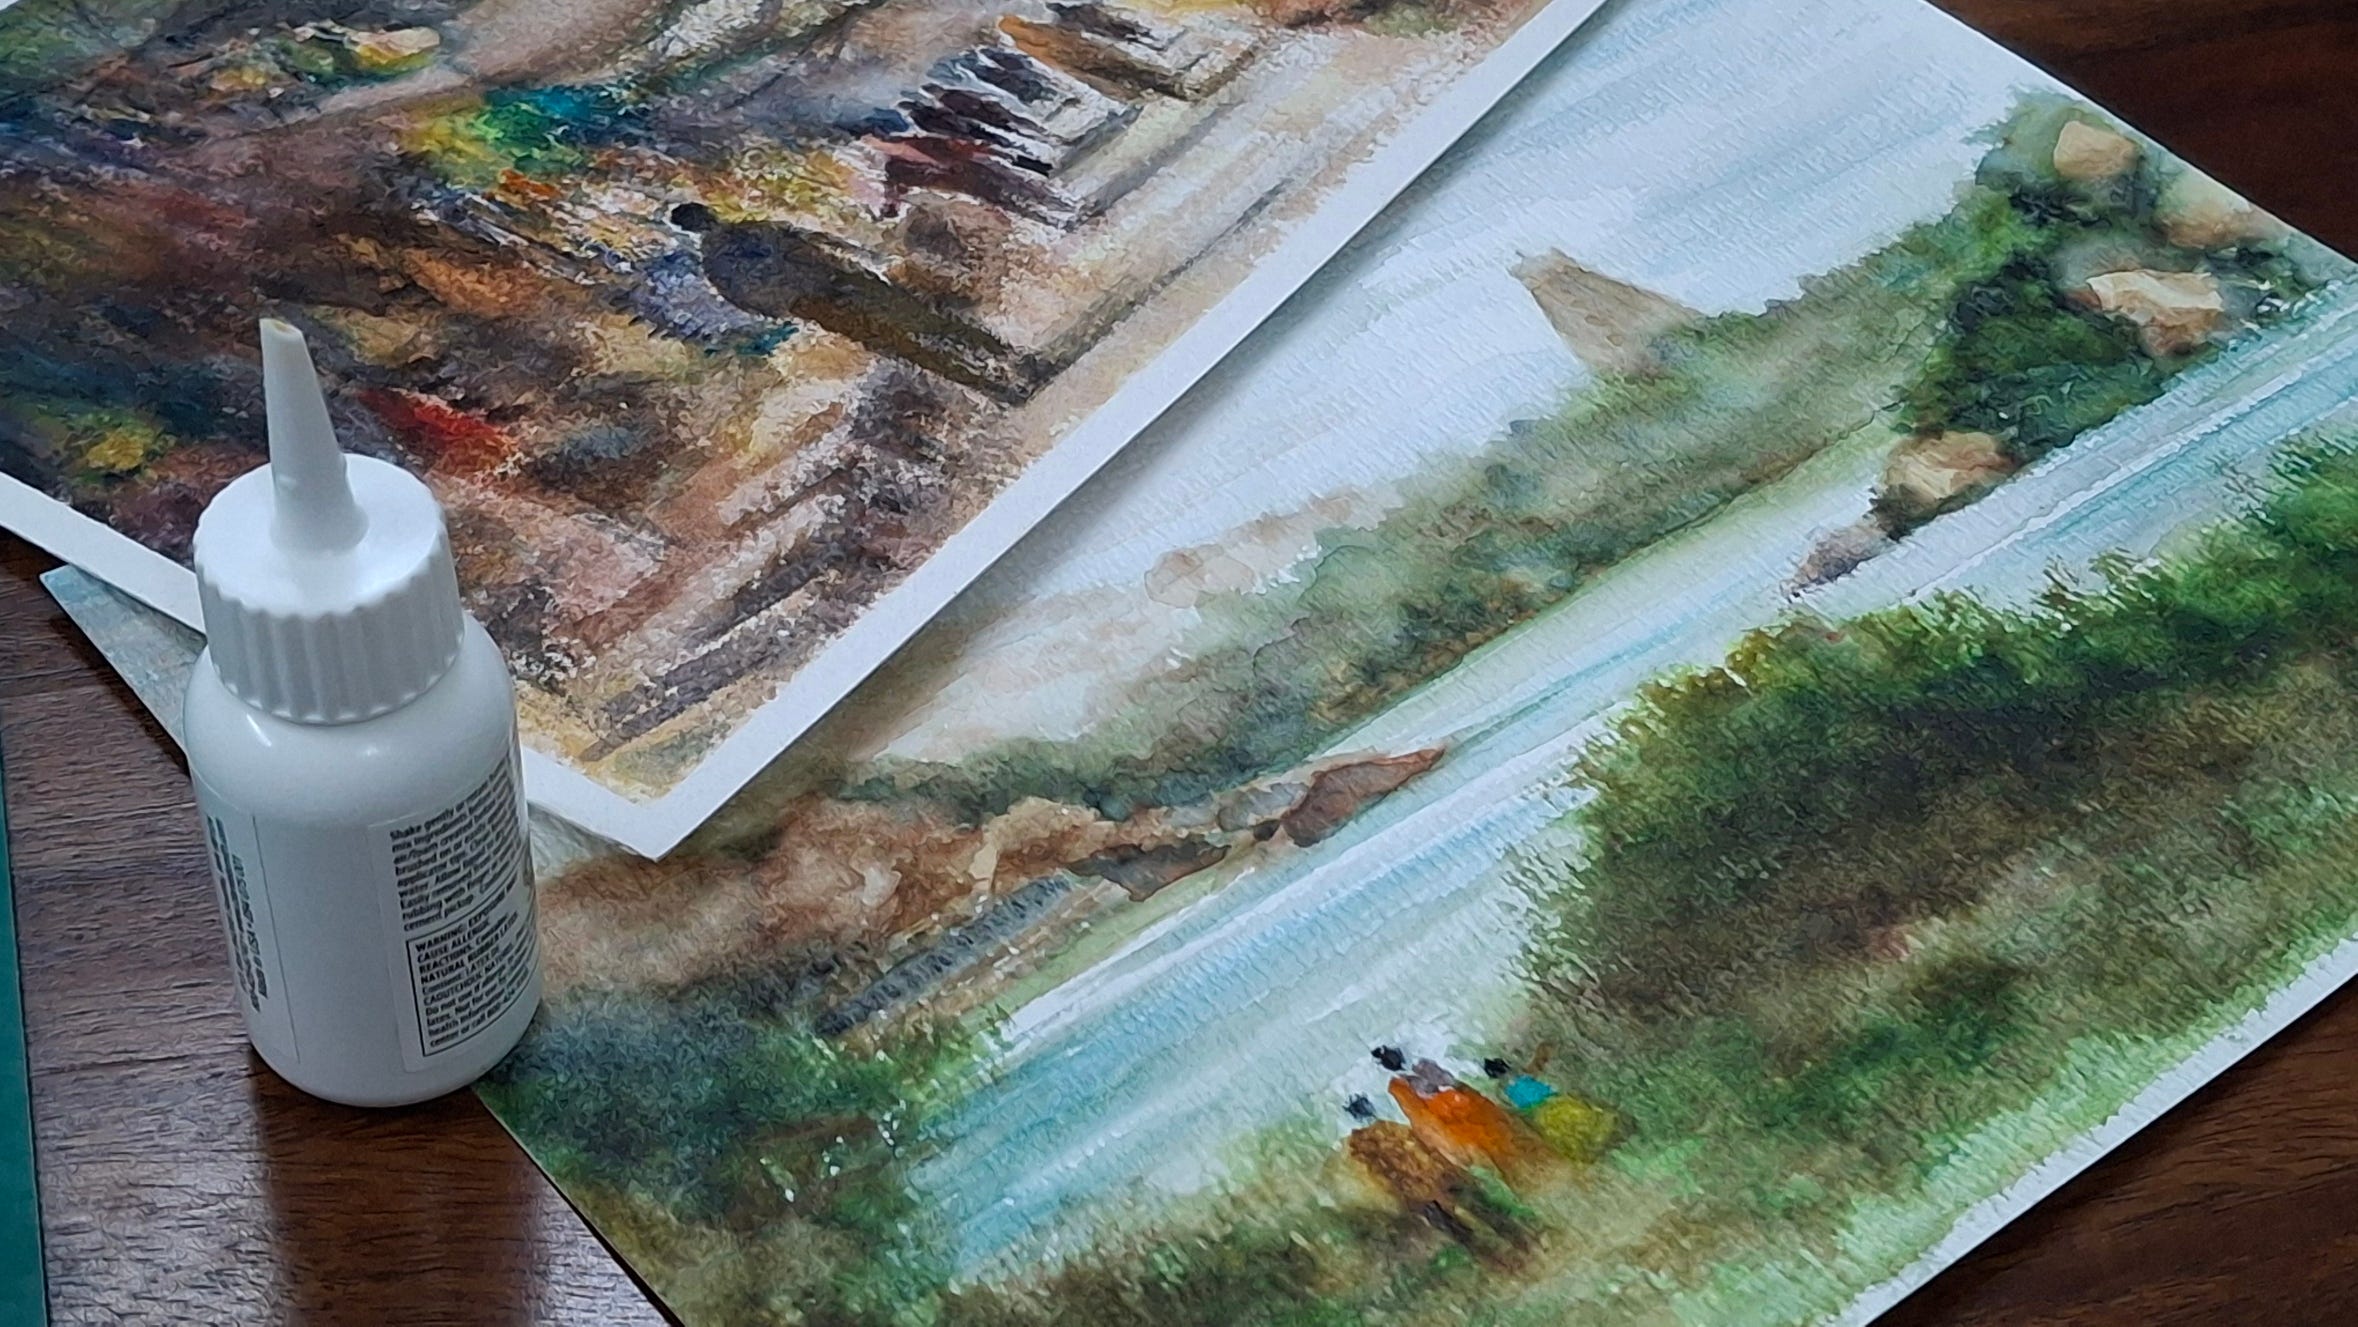
Masking fluid (also called frisket) is a rubber-based liquid that you apply to areas you want to keep white. Once dry, it resists paint. When removed, it reveals the untouched paper beneath.
Type Use
Clear masking fluid General purpose, dries transparent
Tinted masking fluid Easy to see where you've applied it
Masking pens / fine tips For tiny highlights and line work
📏 What About Masking Tape?
Masking tape or painter’s tape allows you to:
Create clean borders
Paint around buildings, doors, or edges
Create sunbeams, rays, or abstract shapes
Hold paper flat for wet washes
Pro tip: Use low-tack artist’s tape to avoid tearing your paper.
🖌️ Step-by-Step: How to Use Masking Fluid & Tape
🔹 Step 1: Plan Your Highlights
Look at your reference or mental image and decide where the lightest areas are — the areas you want to preserve as pure white or lightest value.
Sketch your scene lightly with pencil.
🔹 Step 2: Apply Masking Fluid with Care
Use an old or cheap round brush, or even a nib, to apply the masking fluid:
Apply gently to the edges of clouds, ripples, building highlights, flower edges, or bright dots in the eyes
Let it dry completely before painting (usually 15–30 minutes)
Wash your brush with soapy water immediately — masking fluid can ruin good brushes
🔹 Step 3: Apply Masking Tape (Optional)
Tape borders or shapes with clean edges. Press it down well to avoid bleeding.
Use this for landscapes, architectural scenes, or clean frame borders.
🔹 Step 4: Paint Freely!
Now go ahead and paint with complete freedom!
Use wet-in-wet for skies
Drop vibrant colour around masked areas
Work with bold brushstrokes without worrying about losing light
🔹 Step 5: Let It Dry, Then Remove
Once your painting is fully dry (this is crucial!):
Gently rub off the masking fluid with your fingers or a masking eraser
Peel off tape slowly at an angle to avoid tearing
You’ll see the bright white of your paper emerge — glowing against the coloured areas like magic!
⚠️ Do’s and Don’ts
✅ Test on scrap paper first
✅ Use old brushes for masking fluid
✅ Let masking fluid dry fully before painting
✅ Remove only after entire painting is dry
🚫 Don’t shake the masking bottle — it creates bubbles
🚫 Don’t use hair dryers to speed dry — it hardens the fluid
🚫 Don’t apply fluid over damp paper
🧠 How I Use Masking in My Paintings
In my heritage watercolour scenes and urban sketches, I often use masking fluid for:
Highlights on temple domes
Reflections on water near ghats
Bright accents on saris and shopfronts
Edges of windows, doors, and railings
The result? My paintings retain their vibrancy, clarity, and sparkle — without overworking or muddying colours.
💬 A Personal Note
Many of my students—especially those who are returning to art after 20, 30, or even 40 years—are afraid of making mistakes.
But masking gives you freedom.
It allows you to paint expressively and trust that your key highlights are safe.
It’s not about technicality — it’s about joy, courage, and creating with confidence.
🌟 Want to Master Step-by-Step Watercolour Techniques?
If you’re excited to try this masking technique and want to go deeper into the world of vibrant, expressive watercolour…
🎁 Subscribe to my newsletter today and receive:
Weekly tips, tutorials, and creative prompts
Step-by-step demos on watercolour styles
Lessons on composition, colour, brushwork, and techniques like masking
🧑🎨 Join my Creative Watercolour Community — especially for people over 25 who are reigniting their love for painting and creativity.
Let your art glow. Let the highlights shine. You’re never too late to start.
With luminous brushstrokes,
Chidanand M.
Creative Mastery Coach | Heritage Watercolours | Mentor for Late Blooming Artists
Mr Chidanand M.
I want to thank you for your helpful and interesting news letter. It's full of advice and support.
You are very generous sharing your knowledge and I truly appreciate it.
I look forward to learning more from you.
Adri Liws
I appreciate the way you gather the informations ; the DO and the DON’T, the personnal note, the way you apply the technique… you go straight to the point, it is the best way for me to learn !
(sorry for the mistake of having sent my first message too early…